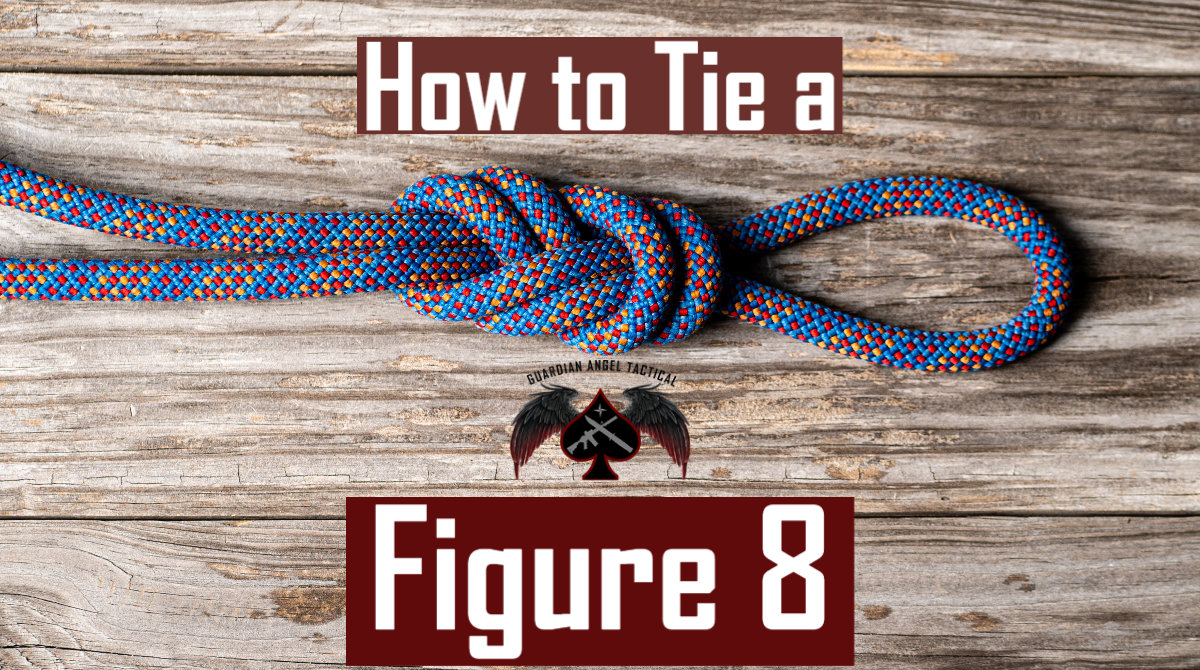
How to Tie a Figure 8 Knot
Besides the elegant look, knowing how to tie a Figure 8 (some might say “a Figure of 8,” but either way is correct) will give you a knot with great utility. Many climbers choose to tie a Figure 8 over a bowline due to the strength advantage of the Figure 8 (The Figure 8 reduces rope strength about 10% less than a Bowline). However, the strength of contemporary climbing ropes is so strong that considering the strength of a knot is probably not necessary. Nevertheless, the Figure 8 is a beautiful knot that will give you strength, stability, and peace of mind for countless uses.
Here are the fast facts you need to know to tie and use a Figure 8 properly. The standard of proficiency for tying a Figure 8 is: In any environment, given a sling rope while blindfolded (or in complete darkness), tie a Figure 8 within 30 seconds or less, ensuring that each pigtail is no shorter than a fist and no longer than a fist with thumb extended (4-6 inches).
Figure 8 Use
The Figure 8 is a Class 3 (Middle of the Rope) knot, but it may also be used at the rope’s end (like a Class 2 anchor knot).
Figure 8 Advantages vs. Disadvantages
Advantages
- Stronger than knots of similar purpose
- Easy to verify it is tied properly in complete darkness (by feel)
- Almost no chance of becoming untied on its own when used with a security overhand knot
Disadvantages
- Not as easy to tie (properly) as a Bowline
- When tied sloppily, can be difficult to check for correctness
- More difficult to untie than similar knots after being heavily loaded
Figure 8 Animation
Tying a Figure 8 Step-by-Step Breakdown

Step 4
Pass the bight back through the loop you created in step 2

Step 5
Set and dress the Figure 8

Step 6
If used for a life safety system, tie a security overhand that incorporates the rope with the pigtail.
Other Class 3 (Middle of the Rope) Knots to Explore
- Double Figure of 8
- Though not a middle of the rope knot, the Bowline is also an alternative for tying into a rope system.


